Building an Intranet NAS with Deepin
Preface
This is an old article that I backed up. Since I reset my blog before, I'm reposting it. As the system updates and iterates, this tutorial may gradually become outdated, so please use it with discretion.
Preparation
A device with DeepinOS installed (can be a desktop/laptop or a Raspberry Pi) Cloudreve 3.1 + software package
Software Provided
DeepinOS installation method... just search it yourself.
Cloudreve 3.2 needs to be downloaded from Github. If you can't download it, use the well-known but indescribable tool to download it. Here's a link: View Link
Personal Configuration
Before we start, I should mention that this method applies to my personal computer; it might work for others too.
A computer with Deepin 15.11+ installed I heard V20 was released, but at the time of writing this article, the highest was 15.11. In theory, V20.1 should work the same.
Use the graphical desktop interface, which is more convenient. Other methods have slight differences.
Step 1
Go to Github and download the corresponding Cloudreve installation package. I chose the AMD64 package because I have an AMD PC (I guess Intel can also use the AMD package). If your machine is based on the ARM instruction set, choose the ARM installation package.
Ps: If your machine uses the ARM64 instruction set, you can choose the ARM64 package version, because the 64-bit version is algorithmically superior to the 32-bit, which usually means higher access speed.
Step 2
Place the Cloudreve archive in the data drive you want. I chose the D drive. I don't recommend putting it on the system drive because it's messy. All files will be stored locally (if you prefer cloud storage, you can configure other storage methods; local storage is also fast, after all, it's an intranet).
After moving, extract it. You'll find there's only one file called cloudreve without an extension.
Then, right-click in this data drive and select "Open in Terminal" to directly navigate to this drive. If you're not using a graphical interface, you can use the cd command to move.
At this point, enter the following command in the terminal:
# Grant execution permission
chmod +x ./cloudreve
# Start Cloudreve
./cloudreve
Note: The above commands should be entered separately, not all at once. Also, don't be silly enough to include the comments.
After this, the build is complete. Make sure to remember the default account and password provided. The default password is shown in the Linux console after the first startup. Don't ask why I remind you, because it won't be displayed on the second startup, and you can't see it anywhere else.
It will show your intranet IP address.
My intranet IP is 192.168.31.30.
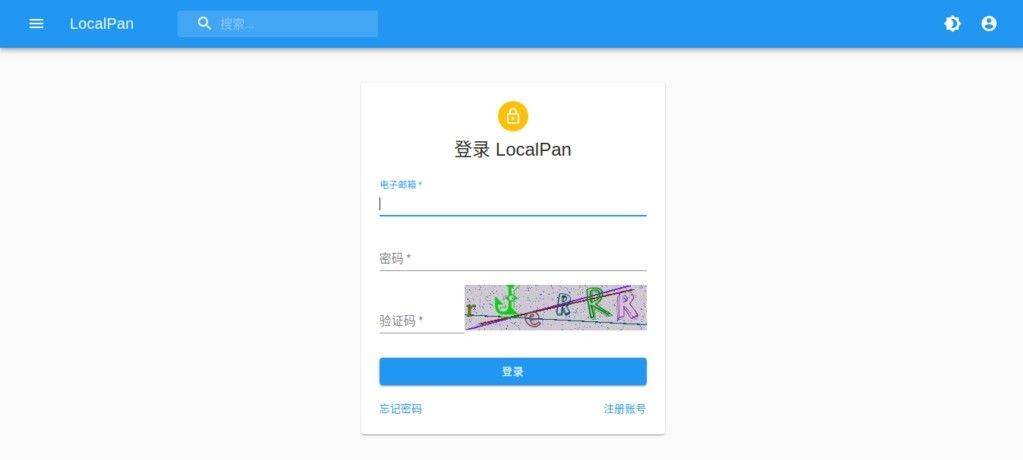
Using my intranet IP as an example, you can access it by entering 192.168.31.30:5212 in your browser.
Step 3
Although the build is complete, closing the console will cause Network Error or make it inaccessible.
This is where a daemon process is needed.
For personal reasons, I provide two methods.
Method 1
Using the Linux console.
Edit the configuration file vim /usr/lib/systemd/system/cloudreve.service.
Replace PATH_TO_CLOUDREVE below with the directory where the program is located:
[Unit]
Description=Cloudreve
Documentation=https://docs.cloudreve.org/
After=network.target
Wants=network.target

[Service]
WorkingDirectory=/PATH_TO_CLOUDREVE
ExecStart=/PATH_TO_CLOUDREVE/cloudreve
Restart=on-abnormal
RestartSec=5s
KillMode=mixed

StandardOutput=null
StandardError=syslog

[Install]
WantedBy=multi-user.target
This is more direct, but I can't exit the vim editor... so I'll provide a second method.
Method 2
Based on Deepin's graphical interface. For other Linux systems without a graphical interface, you can install BT Panel for editing.
Enter the /usr/lib/systemd/system/ directory as administrator.
Create a cloudreve.service file and write:
[Unit]
Description=Cloudreve
Documentation=https://docs.cloudreve.org/
After=network.target
Wants=network.target

[Service]
WorkingDirectory=/PATH_TO_CLOUDREVE
ExecStart=/PATH_TO_CLOUDREVE/cloudreve
Restart=on-abnormal
RestartSec=5s
KillMode=mixed

StandardOutput=null
StandardError=syslog

[Install]
WantedBy=multi-user.target
Step 4
First, close the Linux command console that is running Cloudreve.
Then execute the following commands.
Get root privileges
sudo su
At this point, you need to enter the root password. Deepin's root password is the boot password.
Return to the default directory
cd
Update configuration
systemctl daemon-reload
Start the service
systemctl start cloudreve
Set to start on boot
systemctl enable cloudreve
Still execute them one by one, and don't include the comments.
After this, everything is built! Auto-start on boot doesn't work on my computer for unknown reasons.
System Management
Here are the management commands.
Start the service
systemctl start cloudreve
Stop the service
systemctl stop cloudreve
Restart the service
systemctl restart cloudreve
Check status
systemctl status cloudreve
Other
If you need to access via a domain name, you can try reverse proxy. Of course, this is built on a server; you can research it locally yourself. View Link
You can also access via domain name + port, so you don't need a server!
If you want to build from source code, refer to this section: View Link
All configurations are set by yourself. Emails can be sent normally. It's recommended to use port 465 for sending (i.e., the SSL port of the mail server), because ports below 100 are not enabled by default, while ports above 100 are enabled and just need to be listened to.
For more content, please refer to the official documentation: View Link
Windows
On Windows, after downloading, just extract and it's ready to use.
But Windows can't have a daemon process, so you have to keep it running in the background.